I was always (and still slightly am) terrified of making bread. I never really listened to my mum when she was trying to teach me about cooking and baking – mostly because I was a petulant teenager who knew everything and wanted to spend my time out with my friends, not in the kitchen learning skills that would help when I was older…..sigh.
Anyway, fast forward 15 or so years and you are all grown up. You are living in your own place, paying your own bills and have thus become acutely aware that, for a fraction of the cost of a loaf of bread from the local shop, you could make your own – if only you had listened when someone had tried to teach you those skills!

I think the reason we are so scared of dough is basically it’s so overly delicate, sensitive and easy to mess up! In fact, our bread machine is the one of the best gifts we’ve ever received as it does all the hard work for you and always seems to give perfect results. But as it turns out, I am far too stubborn to be defeated – especially when it comes to anything kitchen related and so I tried my hand outside the comfort zone of my bread maker and eventually came up with a really good and completely handmade focaccia dough.
Let’s talk ingredients for a moment – firstly strong white bread flour. This is actually something I have only come across since I’ve had the bread maker. Prior to that I think I just probably assumed you used either plain or self raising flour. But anyway, I have used different supermarket and bigger name brands and have always had pretty much the same result so please don’t worry – anything that says strong white bread flour is fine.
Secondly, the yeast. Again, any instant yeast is fine – I tend to bulk buy wherever I’m food shopping and just keep it in the fridge and it keeps for a while. I have tried supermarket and big name brands and had the exact same performance and outcome from the recipe. I do have to say here please don’t ask me about fresh/live yeast – I literally have never used it and don’t have a clue, I’m afraid!

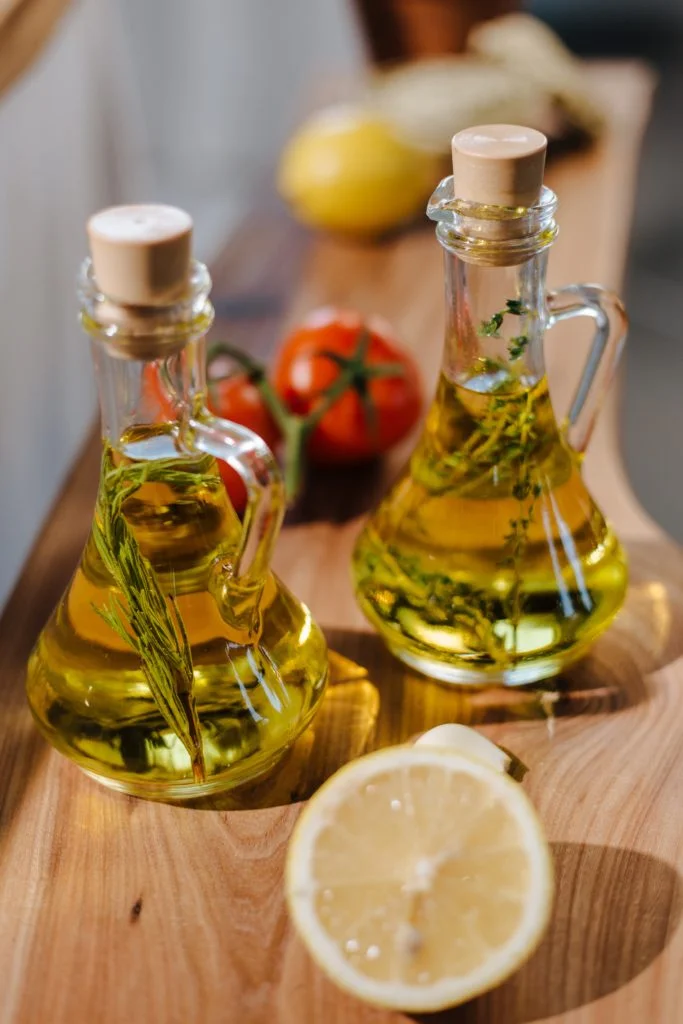
Thirdly, the olive oil. I just looooove olive oil – I am a real convert. I mean it tastes better, it’s better for you – the only real drawback is that it’s a bit more expensive than sunflower or vegetable oil. Big name chefs tell you that when it comes to olive oil, you should buy the most expensive you can afford. I respectfully disagree – I use (yet again) supermarket own brand which is a litre for around £4. The only thing I would say is that I always buy extra virgin and that’s just personal preference because it is purer and better quality. Overall, even if I’m using it in a pesto or sauce, my £4 per litre oil works just fine for me!
Lastly, kitchen equipment. After some trial and error with this recipe (emphasis on error!), I found the perfect baking tray to use. It measures roughly 25cm X 35cm, I have 2 of them and I use them for everything from this focaccia to baking cookies. They are really handy, dishwasher proof (which is a must for me!) and you can find them here.
Overall, there are two really important things with this recipe – weigh your ingredients as precisely as you can and make sure that your water is only lukewarm (no warmer or it may kill the yeast and no colder or the yeast won’t be activated). I would also say that you may be tempted to reduce the kneading time if, like me, the kneading motion or action can be a problem for you. To be honest, you can reduce it to 5 minutes – I’ve done so before and it still comes out well, just slightly heavier and less fluffy. Personally, I recommend you keep it to the full 10 minutes if you can but overall, it is an extremely forgiving dough and you should end up with a fantastic light and fluffy focaccia.
This is a recipe you can have a bit of fun with- I have posted the original recipe with the herby butter and cheese topping (which I highly recommend you try the first time because it’s gorgeous). I’ve also done it with various additions including caramelised red onions, red pesto, cherry tomatoes, mushrooms and olives …the list goes on. I like to try different combinations of cheese but I have to say it is really, really good as written in the original with just grated mature cheddar. Hardly authentic but definitely delicious!

We’ve also found that it’s really good cold the next day – provided that there’s any left that is! Your loaf should come out thick enough that you can carefully slice it open and fill it like a pitta. We like it with some sliced ham and salad or filled with a bit of tuna, mayo, diced onion, black pepper and a drop of lemon juice for lunch. And it’s just perfect served with my roasted tomato, caper and tuna pasta.
So I really hope I’ve convinced you not to be scared of making and working with dough – give it a go! Let me know what toppings you’ve used that worked well or any changes you made to the actual dough in the comments or by using the Contact Me section – I would really love to hear from you. Enjoy! DDx
Print
Herb and cheese topped focaccia
- Total Time: 2 hours 40 minutes
- Yield: 10 1x
- Diet: Vegetarian
Description
A delicious golden focaccia topped with herby butter and melted cheese.
Ingredients
For the dough:
- 500 g strong white bread flour
- 10 g instant dry yeast
- 5 g salt
- A pinch of granulated sugar
- 325 ml lukewarm water
- 2 tablespoons extra virgin olive oil (plus a little bit extra)
For the topping:
- 3 tablespoons salted butter
- 3 teaspoons garlic granules
- 15 g fresh parsley, chopped finely
- 70 g mature cheddar, grated
Instructions
- Put all the dry dough ingredients in a large bowl. Add the water and olive oil and mix until a dough begins to form. Turn out onto a flour-dusted surface and knead for 10 minutes until soft, smooth and elastic.
- Put the dough into an oiled large bowl, cover loosely with clingfilm and leave to prove for 1 hour (or until doubled in size).
- Rub a large baking tray with olive oil (I always use the same tray which is 25cm X 35cm). Knock the air out of the dough and then stretch the dough out to fill the tray. It will spring back a little at this stage but just push it out into the corners -it will relax during the second prove.
- Cover with a clean tea towel and leave for 40 minutes until doubled in size again.
- Preheat the oven to 190℃ / fan 170C / 375℉.
- Remove the tea towel and use your fingers to poke all over the focaccia, making deep dips. Melt the butter and brush liberally all over the top of the focaccia – allowing it to pool in the dips. Sprinkle over the garlic granules and the chopped parsley. Top evenly with the grated cheese.
- Bake for 20-25 minutes until golden and cooked through.
- Allow to rest for 5 minutes before slicing. Can also be left to cool and stored in an airtight container at room temperature to be eaten cold.
- Prep Time: 2 hours 15 minutes
- Cook Time: 25 minutes
Nutrition
- Serving Size: 10
- Calories: 270.82kcal


